Set up email in Android email app
|
ALERT Gmail app users: You may experience an issue where Outlook.com emails are being added as an IMAP account instead of an Exchange ActiveSync account. If you're having trouble syncing calendar and contacts to your phone because of this issue, see the Gmail section in Sync calendar and contacts with my phone or tablet. For easy email and calendar management, we recommend using the Outlook for Android app. |
Set up email with the built-in Android email app
Note: Android mail apps may look different across different devices, and these directions may not exactly match the options you see. Use these steps as a guide or consult the manufacturer's help for your particular device.
-
Update your Gmail app to the latest version.
Note: Do this by opening the Play Store app on your phone. Search "Gmail" and then select Update. If update option is not available, you are already on the latest version.
-
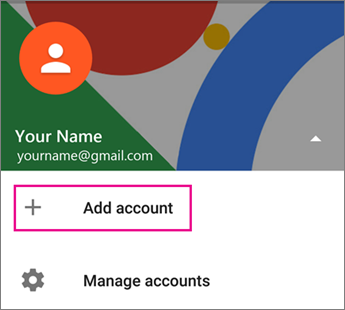
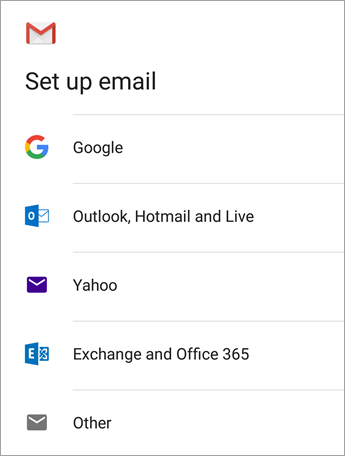
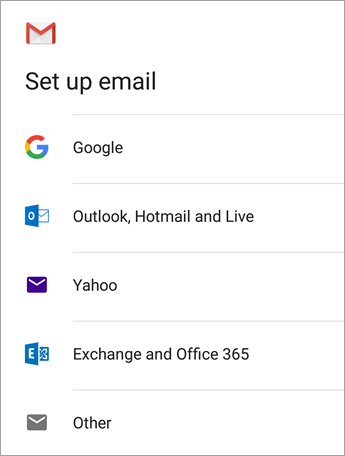
Open the Gmail app. Go to Settings > Add account > Exchange.
Important: If you have an Outlook.com email address and want to sync calendar and contacts, choose Exchange. Do NOT choose Outlook, Hotmail, and Live.
-
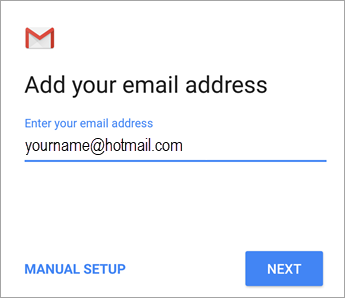
Enter your full email address, for example firstname.lastname@nashvillesd.com. Tap Next.
-
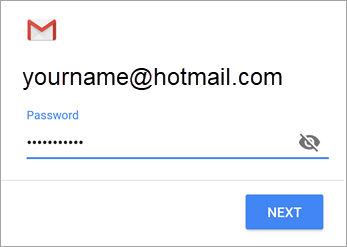
Enter your password and tap Next. (Your password will match your computer password.)
-
If prompted for sync options, select the options you want such as calendar and contacts. Tap Next to complete setup.
-
You're now ready to use your email in the Android Gmail app!
Note: Syncing email, calendar, contacts, and tasks may take a few minutes. If your device can’t connect to your email account, make sure your email address and password are typed correctly.
***If you’re unable to add your email account to the Gmail app, try the Manual Setup steps below or see Troubleshoot email setup on mobile.***
Manual setup in the Gmail app
-
Open the Gmail app. Go to Settings > Add account > Other.

-
Enter your full email address, such as firstname.lastname@nashvillesd.com and then tap Manual Setup > Exchange > Next.


-
Enter your password and tap Next.
-
On the Incoming Server Settings page, set the following settings:
-
Domain\Username
Make sure your full email address appears. For example, firstname.lastname@nashvillesd.com. If Domain and Username are separate text boxes on your device, leave the Domain box empty and type your full email address in the Username box. -
Password
Use the password that you use to access your email. (This will be the same as your Computer Password.) -
Server name
Use outlook.office365.com. -
Port
Use 443 or 993. -
Security type
Select SSL/TLS or make sure the Use secure connection (SSL) checkbox is checked, then tap Next.
-
-
If you're prompted for Outgoing server settings, add the following:
-
SMTP Server
Type your SMTP server name. For example, the outgoing server for Office 365 for business is smtp.office365.com. If you're using an Outlook.com account, your outgoing server is smtp-mail.outlook.com.Note: If you're setting up an Exchange-based account and you don't know the name of your Exchange Server, contact your administrator.
-
Security Type
Choose TLS. -
Port Number
Enter 587. Tap Next.
-
-
Follow any prompts you may get, including security permissions. You may also be asked to set your sync settings and a display name.
Note: If you use Office 365 for business you may also be asked to give additional security control. In this case, choose Activate.
-
You're now ready to use your email in the Android Gmail app!
